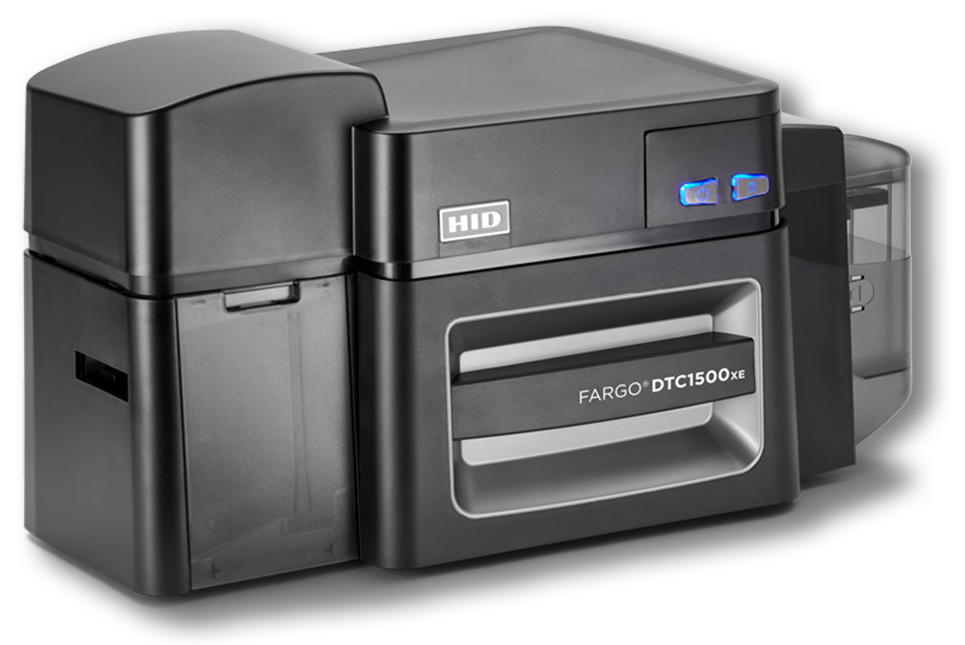
You’ve been asked to implement an employee badge or membership card program and are asking yourself: Where do I begin? Is it difficult, expensive, time consuming?
You will be happy to hear that you can create your own ID badges in house, easily and cost effectively no matter how tech savvy you are (or are not!). Managing your ID badge system in-house has many benefits; you can print cards instantly, have complete control over your ID badge system, and enjoy cost savings.
While the printing technology behind ID card printers is different than a desktop printer, they are just as easy to use. After these five steps, you will be on your way to making your own ID badges.
Step 1: Consider Your Needs
Before you begin to shop for the equipment needed to print the cards, dream about the type of card you want to create. Will your ID badges:
- be in color or monochrome?
- include a photo?
- have info printed on one or two sides?
- be used to access a building?
- store data, such as time/attendance, membership info, financial debit info?
Make a few notes about what you want your cards to look like and do for your organization. As you learn more about ID badge systems and what they can do to improve efficiencies and security within your company, your list may grow.
Step 2: Purchase a Photo ID System
Before you can begin printing your own ID cards, you’ll need an ID system. A typical system includes: an ID card printer, printer ribbon, ID card software, camera (if you’re including photos of people on your cards), and cards. All of these items can be purchased separately or as a system. In order for this system to work, you’ll simply need a computer.
| Each of our systems include everything you need to get started with your ID card program, all in one convenient package. We also offer personalized training and life-time technical support on all of the printers and software we sell. Call (800) 321-4405 if you need help. We’d be delighted to talk with you! |
Step 3: Install ID Software on Computer & Setup Printer
Once you’ve received your ID system, carefully unpack the system and select a convenient location to setup the printer. The user’s manual will give step-by-step instructions (it’s basically the same process as setting up a desktop printer). The manual will also outline how to install a ribbon, load cards in the card hopper, and more. In addition to setting up the printer, you will need to download the printer driver from the included CD to any computer that will be using the printer. If needed, you’ll also need to install your ID badge software and your ID camera.
Step 4: Create the Card![Download our FREE "Six ID Badge Design Tips" Guide [PDF] Download our FREE "Six ID Badge Design Tips" Guide [PDF]](/learning-center/wp-content/uploads/2014/04/badge-design-tips-1.png)
After your ID system is set up, you’re ready to take your first photo. Once you’ve snapped the photo, import the image into the ID software and place it into a template. Your ID software will come with several templates or you can make your own. Add the cardholder information, such as name, employee number, etc.
Step 5: Print the Card
Once your card is created, click “print” and you’re card will be created in seconds. It’s that easy!
| Find ideas and inspiration for designing your own great-looking ID cards on our Sample ID Cards page. |

